Traders: No Trade Zone Indicator Using Asia Range and Volatility Percentiles
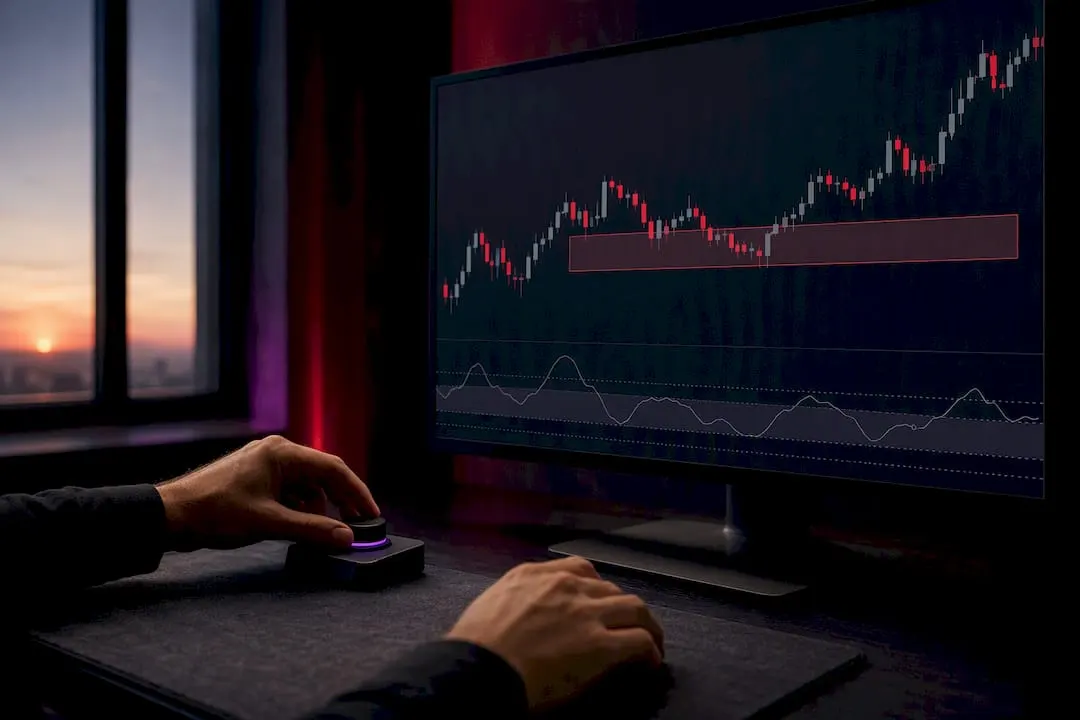
A no trade zone indicator flags stretches of the market where the odds of a clean, profitable entry drop, usually because volatility has thinned out, price is stuck in a session range, or the clock has entered a historically choppy window. When it fires, treat it as a gate, not a suggestion: pause new entries, wait for a confirmed break of the range or a rise in the volatility percentile, or let your automation block the trade outright.
TL;DR:
- The effectiveness of no trade zone filters depends on confirming breaks with closed candles and not just wick touches, reducing false signals.
- Using volatility percentiles provides a regime-aware measure of market quietness or turbulence, which adapts better than simple ATR thresholds.
- Combining session-range, volatility, and momentum filters improves detection of low-liquidity or consolidation periods, but all should be calibrated to the chosen timeframe.
- Market breaks or low-volatility periods can still produce violent moves if liquidity and spread conditions are unfavorable, requiring careful trade execution checks.
- Consistently applying no trade zones as part of a broader discipline prevents impulsive entries and enhances risk management rather than relying on them as sole prediction tools.
Table of Contents
- How No Trade Zone Indicators Work
- Common No Trade Zone Methods You Can Test
- Settings, Customization, and Timeframe Guidance
- Building a No Trade Zone into Your Trading Process
- Where No Trade Zones Fail and How to Fix It
- Discipline, Not a Crutch
- How Big Move Algo Handles No Trade Logic
- Sources
- FAQ
How No Trade Zone Indicators Work
A no trade zone indicator is really a bundle of smaller rules stacked together. Each rule watches a different piece of market behavior, and when enough of them agree, the indicator marks the chart or sends an alert telling you to hold off.
Session-range detection is the most common building block. The indicator marks the high and low of a defined window, often the Asian session, then draws a box on the chart. While price stays inside that box, the market is considered to be in consolidation, and breakouts are treated with suspicion until they are confirmed. The confirmation part matters more than the box itself: a single wick poking outside the range means nothing, but a candle that closes outside it on a stable timeframe like the 15-minute chart is a much stronger signal that the range has genuinely broken. Wick-only breaks are the number one source of false signals in range-based systems, which is why serious implementations wait for a close, not just a touch.
Volatility filters work differently. Instead of watching price location, they watch how much the market is moving compared to its own recent history. A simple version uses Average True Range (ATR) bands to flag when the current range is unusually tight. A more refined version, and the one favored in professional research, uses volatility percentiles rather than a raw ATR reading. CME Group research shows that ranking current volatility against its own historical distribution gives a regime-aware read that a single volatility number cannot: a market at the 5th percentile of its own 60-day range is quiet in a way that raw ATR alone will not capture, and that context changes how much confidence you should place in any breakout.
Momentum and structure filters add a third layer. Simple moving average percent-change calculations show whether the trend is accelerating or flattening, while ADX or Rate of Change (ROC) readings confirm whether a move has real force behind it or is just drifting.
Timeframe interaction ties all of this together. Every rule in a no trade zone system should be evaluated on a closed candle, never mid-bar, because intrabar noise on a 1 minute or 5 minute chart will otherwise trigger and cancel false signals constantly.
- Session-range boxes require a confirmed candle close outside the range, not a wick touch, to be considered a real breakout.
- Volatility percentiles rank current movement against recent history, which are more reliable than a single ATR reading.
- Momentum filters like ADX or ROC confirm whether a breakout has real force or is likely to fade.
- Every rule should evaluate on closed candles only, since mid-bar checks generate false starts.
Common No Trade Zone Methods You Can Test
Most traders build their first no trade zone rules around a handful of well-worn templates. Each one is simple enough to code in Pine Script or set up manually, and each targets a different kind of low-quality period.
- Asia range rule. Compute the high and low of price between 20:00 and 02:00 New York time on the 15 minute chart. Treat the market as inside the no trade zone until a 15 minute candle closes outside that range, since a close beats a wick for filtering out noise.
- Death-hour caution window. Many intraday traders flag a default caution period, commonly cited around 08:30 to 10:00 New York time, when early session volatility can produce erratic, low-conviction moves before the broader trend establishes itself. Apply this window as a soft filter rather than a full block unless your backtesting on your specific instrument supports harder enforcement.
- SMA20 percent-change rule. Measure the percentage change of a 20-period simple moving average over a fixed number of bars. When that percent change falls below a chosen threshold, the trend is considered flat and the zone is marked as no trade until the slope steepens again.
- Volatility-percentile rule. Rank the last 30 days of volatility (or implied volatility, where available) against its own history and generate a percentile score. CME Group suggest matching the lookback length to your strategy horizon, using roughly 30 to 90 days for intraday or short-term setups and a longer window for swing trades. Block entries below a low percentile threshold if you trade breakouts, or above a high one if you trade mean reversion.
These four templates cover the bulk of what shows up in retail trading systems, and they combine well: an Asia range filter plus a volatility percentile check catches both the “market is boxed in” case and the “market is objectively quiet” case, which are related but not identical problems.
Settings, Customization, and Timeframe Guidance
Getting a no trade zone rule right depends less on the formula and more on matching it to the right timeframe and giving it sane sensitivity settings.
Session-range methods like the Asia range work best on the 5 minute to 15 minute charts, where the box is tight enough to be meaningful but not so granular that noise dominates. Volatility-percentile filters are more flexible: they can run on intraday charts for scalping systems or aggregate to a daily read for swing traders who only check the market once or twice a day.
- Percentile cutoffs typically sit between the 10th and 25th percentile for “too quiet to trade” and the 75th to 90th for “too wild to trade,” depending on strategy.
- ATR multipliers for stop and confirmation logic usually range from 1.0x to 2.0x the recent average, with tighter multipliers suited to scalping and wider ones to swing entries.
- Confirmation candle counts of one to three closes outside a range balance responsiveness against false starts.
- Session times need to be locked to a fixed reference zone like New York time, not the trader’s local clock, since daylight saving shifts twice a year and can quietly misalign a caution window if the indicator uses local time by default.
Visual cues matter more than they seem. A well-built indicator uses a distinct color state, often a shaded box or a colored background, to mark active no trade periods, and a second, different color when the zone has been cleared by a confirmed breakout. Alerts should fire on the same closed-candle logic as the underlying rule, never on a live tick, or you will get notified about zones that clear themselves before the candle even finishes.
Pro Tip: Set your session times using the indicator’s timezone offset setting, not your local browser clock, so daylight saving changes never quietly shift your caution window.
Building a No Trade Zone into Your Trading Process
A no trade zone indicator only helps if it is wired into an actual routine rather than glanced at occasionally. The value comes from consistent application, not from any single reading.
- Run the pre-trade checklist. Check the volatility percentile reading, confirm there is enough liquidity to execute cleanly, check whether scheduled news is imminent, and look for a confirmation signal before considering any entry.
- Choose soft alerts or hard enforcement. A soft alert notifies you that conditions are marginal but leaves the decision in your hands, which suits discretionary traders who want context. Hard enforcement blocks the entry inside your automation rules entirely, which suits systematic traders who have already proven the filter reduces losing trades in backtesting.
- Verify before re-enabling trading. Look for a break of the range on a higher timeframe than the one that created the zone, require a confirmed close rather than a touch, and check that liquidity has actually returned rather than assuming it has because price moved.
- Adjust size and stops near the edge. When price sits close to a no trade zone boundary, reduce position size and widen stops slightly to account for the higher chance of a false start, since edge-of-zone entries carry more whipsaw risk than clean breakouts.
Requiring a same-direction close on a higher timeframe in addition to the triggering timeframe cuts down on being caught by wick-driven traps, since a lower-timeframe breakout that lacks higher-timeframe agreement is far more likely to be noise than genuine follow-through.
Where No Trade Zones Fail and How to Fix It
No indicator, no trade zone or otherwise, is a guarantee against loss. Understanding where these systems break down matters as much as understanding how they work.
The most common failure is the volatility trap: a market can sit in a low-volatility percentile for days, lulling a filter into treating it as safe, then break violently once a catalyst hits. Percentile tracking mitigates this better than a static threshold because it adapts as the regime shifts, but it still reacts after the fact rather than predicting the shift itself.
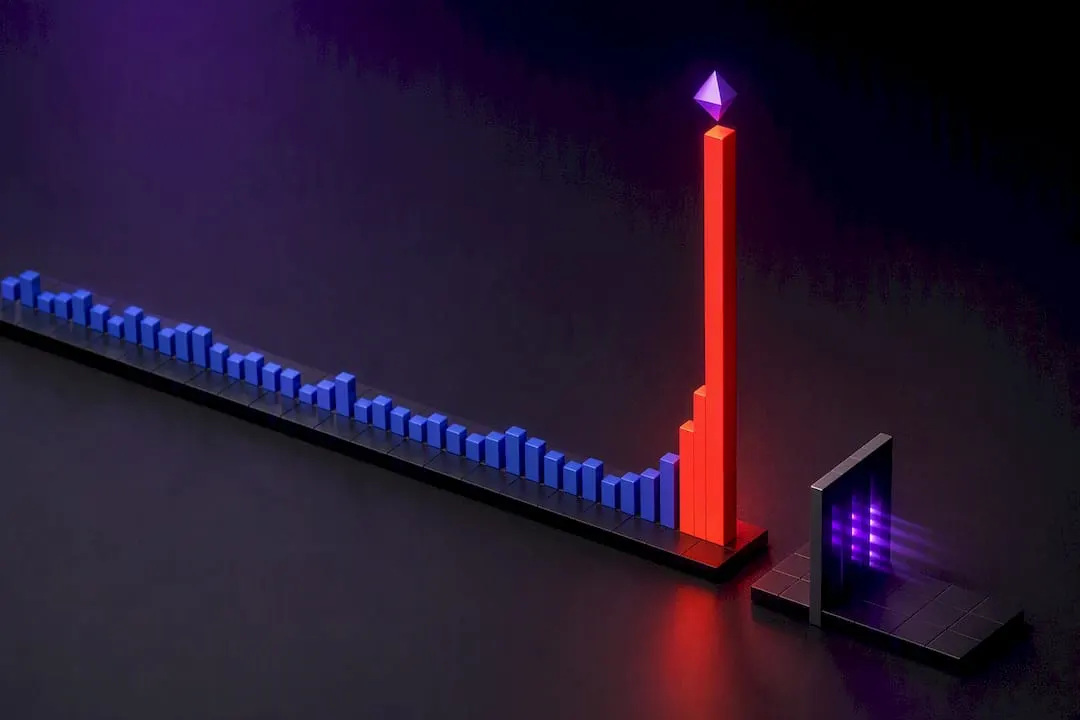
False breakouts are the second major issue, especially around session-range boxes. A wick can punch through a range on light volume and reverse within minutes, tricking a system that only checks price location instead of requiring a confirmed close.
Liquidity and execution risk compound both problems. CME Group’s liquidity research found that cost-to-trade relative to daily true range and volume gives far better context around volatile periods than volatility readings alone, since a technically valid breakout can still be a bad trade if the spread and available depth make execution expensive.
Investor.gov cautions that impulsive short-term trading driven by social sentiment or market noise is a major contributor to poor trading outcomes, and recommends a structured plan over reactive decisions, a warning that applies directly to traders tempted to override a no trade signal on impulse.
- Treat percentile-based volatility checks as a regime indicator, not a static safe zone.
- Require a multi-candle close or higher-timeframe agreement before trusting any range breakout.
- Check spread and depth before assuming a technically valid signal is tradable.
- Pair no trade logic with account-level limits like max daily loss or max concurrent exposure so no single filter carries the whole risk management job.
Discipline, Not a Crutch
The real value of a no trade zone signal is not prediction, it is friction: a pause that keeps you from entering on impulse when the setup looks tempting but the conditions do not support it. Good systems treat this as one check among several, not a single switch that decides everything, which is the same philosophy behind how Big Move Algo layers its Fake Trend Detector on top of directional signals rather than relying on any one filter alone.
— Steven Hartwell
How Big Move Algo Handles No Trade Logic
Building your own session boxes, percentile filters, and confirmation rules works, but it takes ongoing maintenance every time a market shifts regime. Big Move Algo folds that work into the indicator itself, so the no trade logic runs in the background while you focus on the signals that matter.
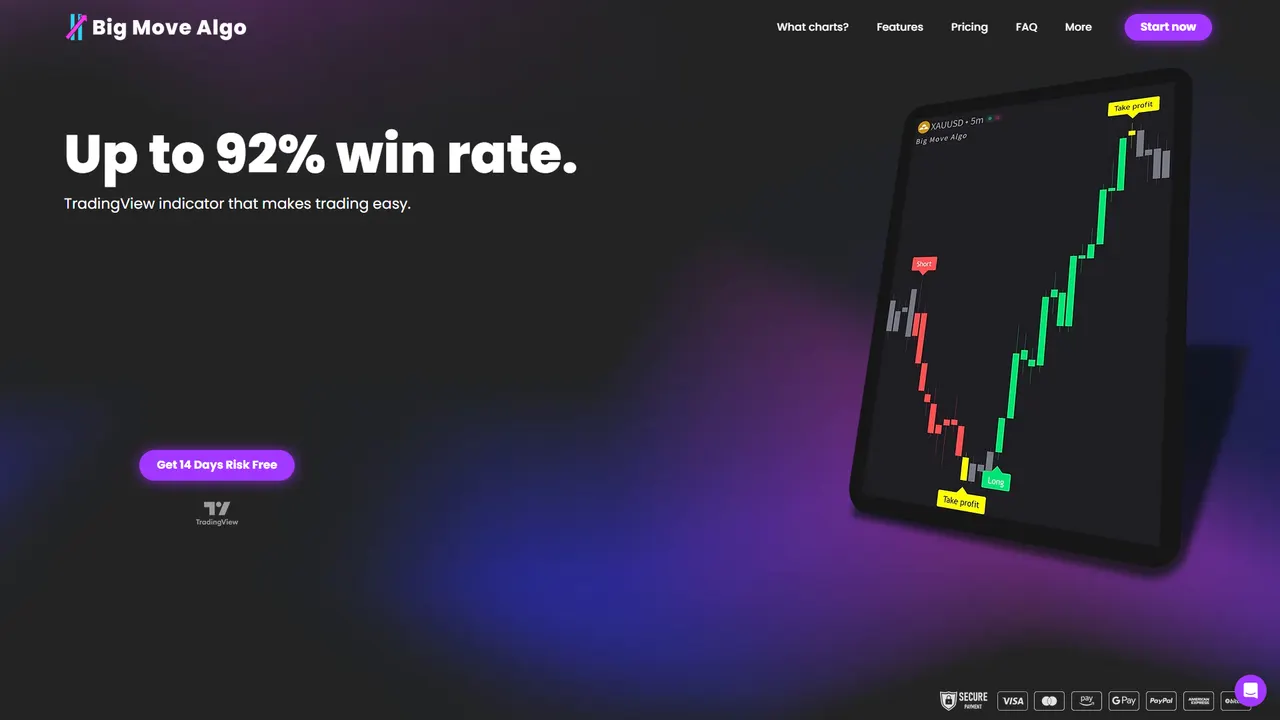
- The indicator filters out low-quality, misleading conditions before a Long or Short signal ever reaches you.
- Session and no-trade windows can be configured to set caution periods rather than using a fixed default.
- Built-in volatility filters work alongside an automatic mode that enforces no-trade logic for users seeking minimal setup.
- Alerts can be sent to multiple platforms and can integrate with automated execution to link signal and action.
Manual Mode gives more experienced traders room to adjust thresholds directly, similar to the volatility filter and Big Move Guard logic described above. You can review plans and pricing and get instant access after subscribing at Big Move Algo.
Sources
This article draws on Investor.gov’s guidance on short-term trading risk, CME Group’s volatility percentile research, and CME Group’s liquidity analysis, plus a practical guide to market regime detection.
This article is general information, not a substitute for advice from a qualified financial advisor. Consult a qualified financial professional about your own circumstances before acting on anything here.
FAQ
What is the most powerful indicator in trading?
No single indicator is objectively the strongest, since effectiveness depends on the strategy and market. Traders generally get better results by combining a directional signal with a volatility or liquidity filter, such as pairing a trend indicator with volatility percentile tracking, rather than relying on one tool alone.
Is the ghost trade zone indicator available on TradingView?
Specific third-party indicator availability varies by publisher and is not something this article can confirm. Traders looking for no-trade zone functionality on TradingView should check the indicator’s own listing page for current platform support, or consider a tool like Big Move Algo that publishes its availability directly on TradingView.
Is ROC a good indicator?
Rate of Change (ROC) works well as a confirmation layer alongside trend or range-based signals, since it shows whether momentum is accelerating or fading. It is rarely used alone, and is more reliable when paired with a structure filter like ADX or a volatility percentile check.
What are the big 3 indicators?
There is no official “big three,” but retail traders commonly lean on a moving average for trend direction, RSI or ROC for momentum, and ATR or a volatility percentile for risk sizing. The right combination depends on whether the strategy is trend-following, mean-reverting, or breakout-based.
What counts as a no trade zone in practice?
A no trade zone is any period where a defined rule, such as a tight session range, a low volatility percentile, or a known caution window, signals that entries carry higher than normal risk. It is a risk management flag rather than a prediction that price will not move.