
Automated Trading Risk Controls Every TradingView User Needs
- Steven Hartwell

- 1 day ago
- 7 min read
Enable five controls before you let any script or webhook touch real capital: a position-sizing limit, a mandatory stop-loss on every trade, a daily loss cap, a max-drawdown kill switch, and a signal filter that blocks low-quality setups. Each one stops a specific failure mode.
Position-sizing limit — stops one oversized trade from wiping out weeks of gains.
Mandatory stop-loss — prevents a single position from running unchecked while you’re away from the screen.
Daily loss cap — shuts the system down before a bad session turns into a bad month.
Drawdown kill switch — halts the whole account when cumulative losses cross a hard line.
Signal filter (like Big Move Algo’s Fake Trend Detector) — reduces false entries in choppy or low-quality market conditions.
Pre-trade size checks — catches fat-finger errors and misconfigured lot sizes before they reach your broker.
Every one of these maps directly onto a TradingView alert field, a webhook payload parameter, or a setting inside Big Move Algo. The rest of this guide shows you exactly how to size, calibrate, and test them.
TL;DR:
Use a position-sizing formula based on risk per trade and ATR to adapt stops to market volatility, reducing max drawdown.
Implement layered kill switches, including daily loss caps and account-level stop triggers around 8% to 10% drawdown, to prevent runaway losses.
Set execution safeguards such as slippage limits, max order sizes, and cancel-on-disconnect to protect trades from technical failures.
Test all risk controls thoroughly by simulating consecutive losses, API disconnections, and volatility spikes before trading live.
Use automated safeguards built into Big Move Algo, including default filters and sizing, to streamline risk management without complex manual setup.
Table of Contents
What Are the Core Automated Trading Risk Controls?
Position sizing and stop placement do the heavy lifting in any automated trading risk controls setup. Get these two wrong and no amount of monitoring saves you.
Start with a simple formula: Q = R / S. Here, R is the dollar amount you’re willing to lose on the trade, and S is your stop distance in dollars per unit. Instead of guessing where to place a stop, calculate S using the Average True Range (ATR), multiplied by a factor that reflects the instrument’s typical noise.
Pull the current ATR value for your timeframe (TradingView calculates this natively).
Multiply ATR by a stop multiplier, typically 1.5 to 3, depending on volatility.
Divide your risk-per-trade dollar amount by that stop distance to get position size Q.
If you’re trading with leverage, multiply Q by price to get notional exposure, then check it against your account’s margin limits.
Quick math: risking $50 per trade with an ATR of $2.00 and a 2x multiplier gives a stop distance of $4.00. That means Q = 50 / 4 = 12.5 units. On a $10 asset, that’s $125 in notional exposure before leverage.
Volatility-adaptive stops built this way tend to reduce max drawdown compared to fixed-pip or fixed-percent stops, because the stop distance breathes with the market instead of getting steamrolled during a volatility spike.
Pro Tip: Keep risk-per-trade to a small fraction of account equity. Excessive risk per trade can turn a normal losing streak into an account-threatening one.
How Do Kill Switches Prevent Runaway Losses?
No single stop-loss can protect you from every failure mode, which is why layered kill switches matter. The logic runs from smallest to largest: per-trade stop, then daily loss cap, then per-strategy drawdown limit, then account-level kill switch. Each layer catches what the one before it missed.
A per-trade stop limits damage from one bad entry.
A daily loss cap halts trading for the session once losses hit a prudent threshold.
A per-strategy drawdown limit reduces position size or pauses a specific strategy that’s underperforming, without shutting down everything else.
An account-level kill switch, triggered around 8% to 10% drawdown from peak equity, halts all automation outright.
Calculate drawdown against your equity high-water mark, the highest account balance you’ve ever reached, not your starting balance. A trader who grows $10,000 to $14,000 and drops to $12,600 has suffered a
drawdown from the high-water mark, even though they’re still up overall.
Which Order and Execution Protections Matter Most?
Even a perfectly sized trade can go wrong at the execution stage. FIA’s guidance on automated trading controls lists exactly the checks that catch these failures before they cost you money.
Set a slippage threshold (often 0.1% to 0.3% for liquid assets) and reject or convert to a limit order if the fill would exceed it.
Apply a max order size per instrument so a bug or fat-finger entry can’t submit ten times your intended size.
Use a price tolerance check that rejects fills too far from the quote at signal time.
Enable cancel-on-disconnect (COD) so open orders cancel automatically if your platform or internet connection drops.
Pro Tip: Set order timeouts on any unfilled limit order. A stale order sitting in a thin book can fill at a terrible price hours later if the market swings back.
How Should You Test Automated Trading Risk Controls Before Going Live?
Paper trading isn’t optional. It’s where you catch the gap between what your strategy looks like on paper and what actually happens when a webhook fires at 3 a.m. during a volatility spike.
Confirm every trade fills with the correct ticker, size, and take-profit/stop-loss levels attached.
Feed the system a simulated losing streak of five to seven trades in a row and confirm the daily cap and drawdown kill switch actually trigger.
Test a volatility spike scenario and check whether slippage stays within your defined threshold.
Disconnect the API mid-session and verify cancel-on-disconnect behaves as expected.
Log slippage, fill deviation from signal price, and the exact timing of any drawdown trigger.
Forward testing needs to validate the full execution chain, not just entry signals. A walk-forward validation approach also helps confirm your strategy isn’t just overfit to historical data.
Test scenario | Pass condition |
Five consecutive losses | Daily cap and kill switch trigger at the correct threshold |
API disconnect mid-trade | Cancel-on-disconnect closes or cancels open orders |
Volatility spike | Slippage stays within defined tolerance |
What Should You Monitor Once Automation Goes Live?
Testing tells you the system works in simulation. Monitoring tells you it’s still working three weeks into live trading, when market conditions have shifted and you’re not staring at the screen every minute.
Track drawdown against your equity high-water mark in real time, not just total P&L.
Watch total exposure across all open positions, especially if multiple strategies run simultaneously.
Monitor average slippage per trade; a sudden jump usually signals a liquidity or connectivity problem.
Flag your largest single position as a percentage of account equity.
Set alerts that trigger automated remediation, not just a notification, using automated risk controls every futures copier must have. Retail traders lack the regulatory mandate that forces institutional desks to run these checks, which means the self-imposed alert has to do the job a compliance department would otherwise do: lock new entries, disable automation, or cut position size automatically when a threshold breaks. Keep a log of every trigger event for post-mortem review.
How Do You Wire These Controls Into TradingView and Big Move Algo?
Your webhook payload is where theory turns into enforcement. Every field you include is a checkpoint your broker or execution layer can validate before an order goes live.
Include ticker, direction, position size, stop-loss price, and take-profit price in every alert payload.
Add a max order size field and reject any payload that exceeds it.
Include a price tolerance parameter so the receiving system rejects fills too far from the alert’s trigger price.
Forward-test the full payload chain end to end, from Big Move Algo’s AUTO Mode signal through to order confirmation, before switching to live capital.
Big Move Algo’s AUTO Mode ships with conservative defaults built in, so a new user isn’t left guessing at multipliers. Manual Mode lets more experienced traders adjust stop distance and sizing logic directly, while the Fake Trend Detector filters out the choppy, low-conviction conditions that generate most false entries in the first place.
Pro Tip: Run your webhook through a small test order first, with position size set to the minimum your broker allows. Confirm every field arrives correctly before scaling up.
Why Risk Controls Come Before Signals, Not After
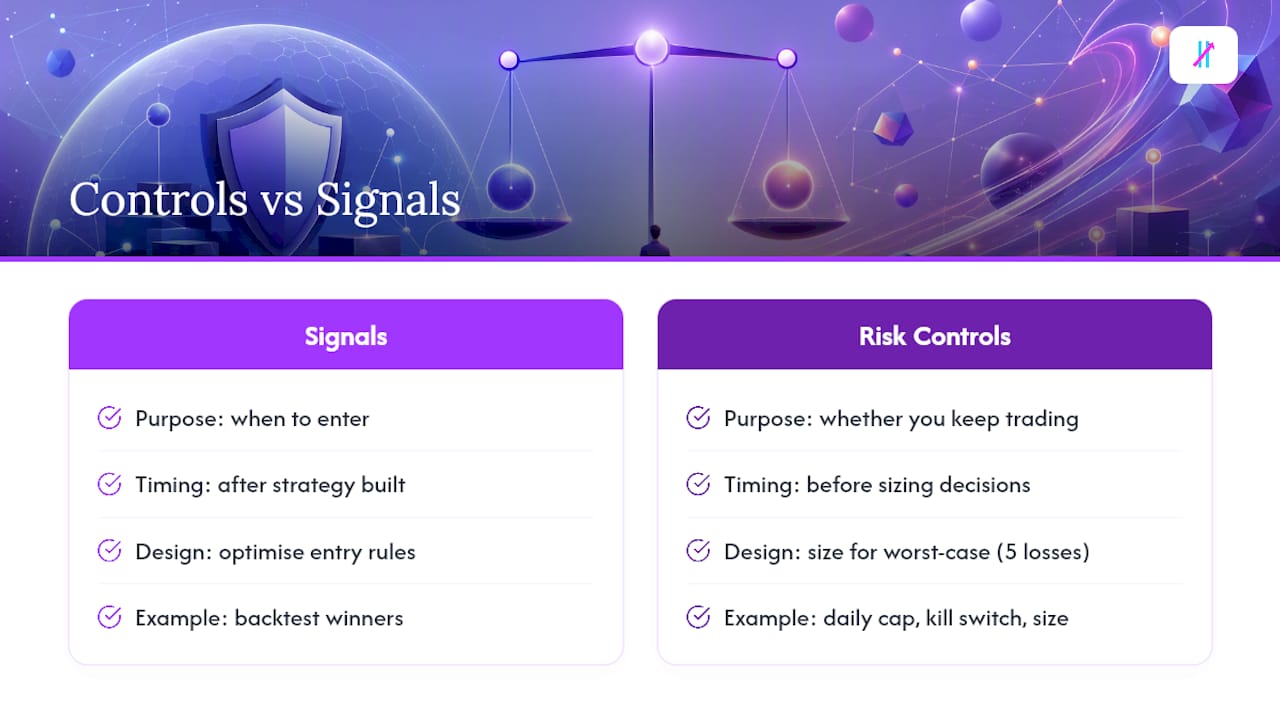
Most traders build a strategy, backtest it, and bolt on risk controls at the end. That order is backward. Work from the worst case first: what happens after five losing trades in a row, back to back, during a week of elevated volatility? Size your position risk, your daily cap, and your kill switch around that scenario, not around your best backtest run.
Signals only tell you when to enter. Controls determine whether you’re still trading next month.
— Steven Hartwell
Get Big Move Algo’s Safeguards Working for You
Building every one of these controls from scratch in a custom webhook takes real engineering time most retail traders don’t have. Big Move Algo gets you there faster because the safeguards are already built into the signal itself, not bolted on afterward. The Fake Trend Detector filters out the low-quality setups before they ever generate a Long, Short, or Exit signal, and AUTO Mode ships with sane default sizing logic so you’re not starting from a blank slate.
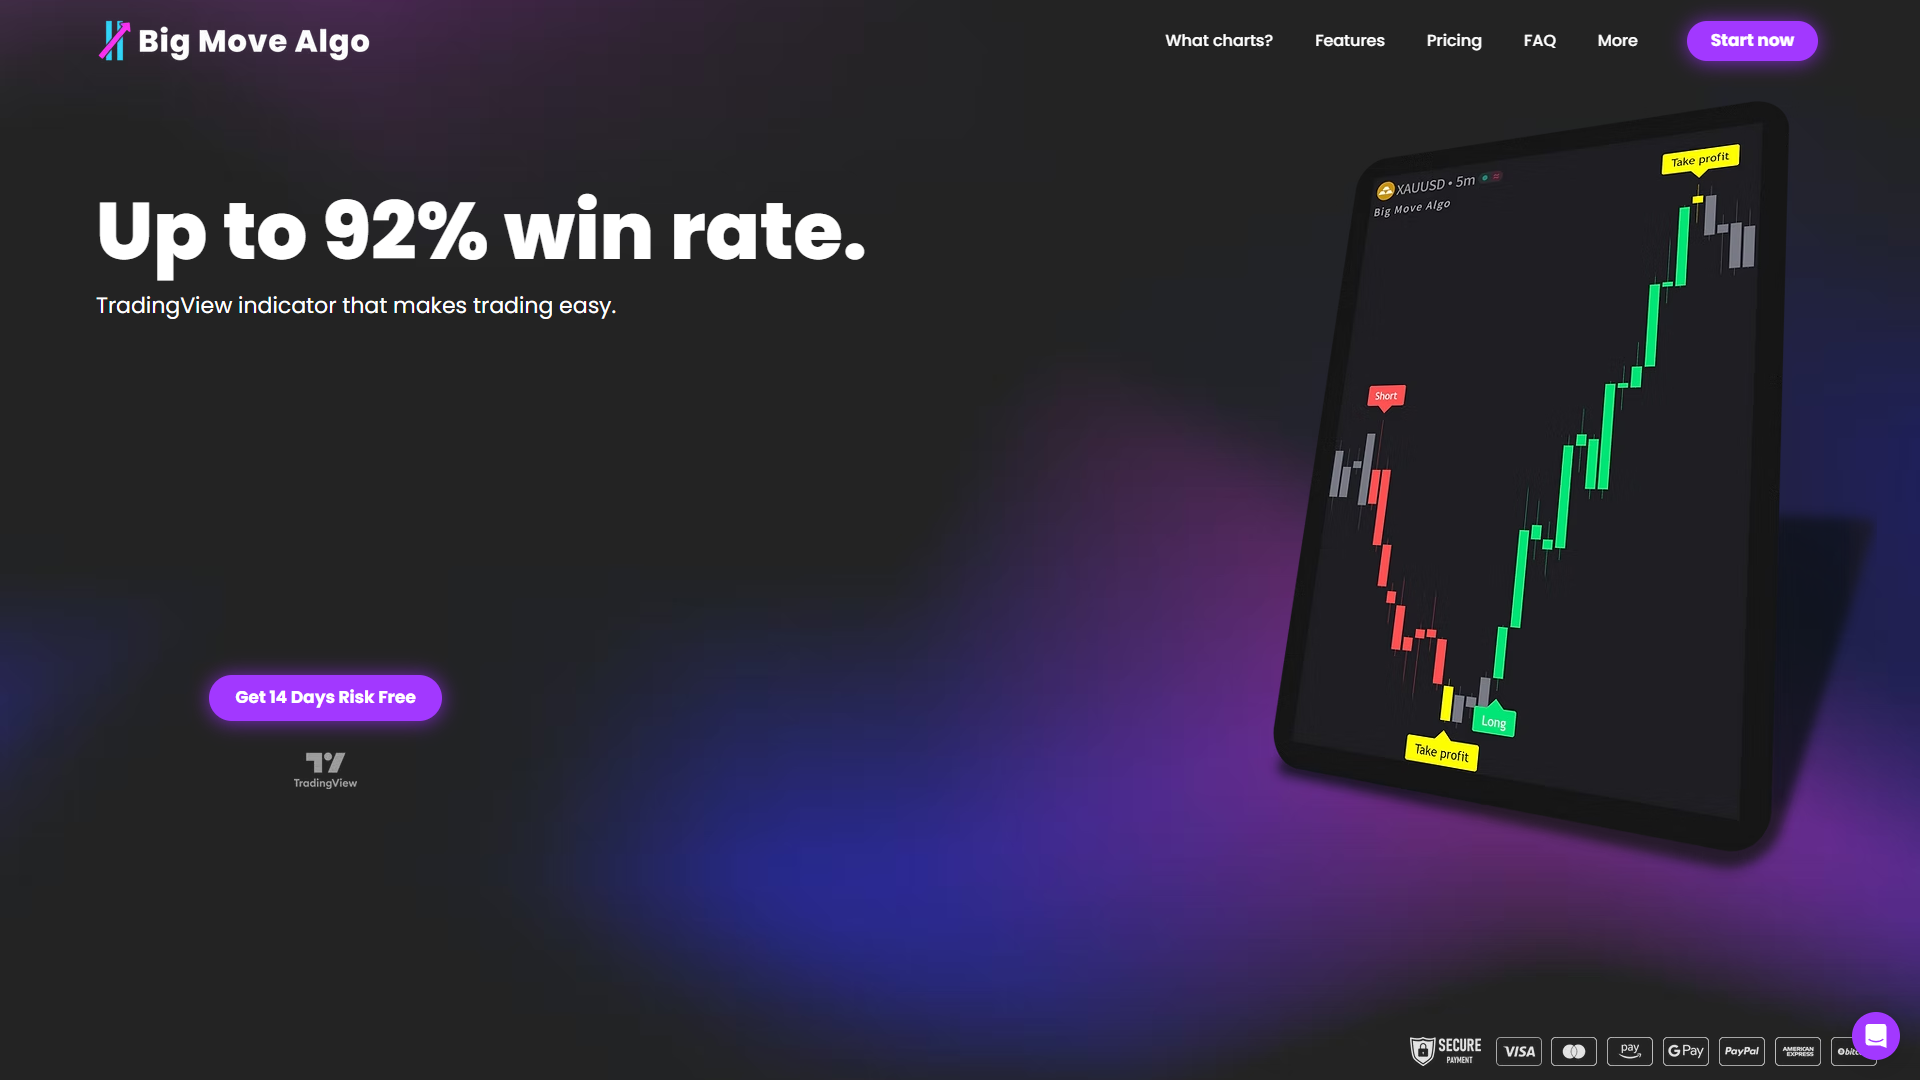
Manual Mode lets you fine-tune stop distance and position logic once you’re comfortable with the defaults, and every signal is designed to plug straight into a TradingView webhook without extra formatting work. If you’re ready to see it running on your own charts, start with the quick installation guide and get the indicator live in minutes.
Key Takeaways
Automated trading risk controls work because they layer position sizing, stop enforcement, loss caps, and signal filters so no single failure can wipe out an account.
Point | Details |
Size trades with ATR | Use Q = R / S with stop distance set to ATR times a multiplier of 1.5 to 3. |
Layer your kill switches | Combine per-trade stops, daily caps, and account-level drawdown limits around 8% to 10%. |
Enforce execution limits | Set slippage thresholds, max order size, and cancel-on-disconnect before going live. |
Test against worst cases | Simulate five consecutive losses and API disconnects before enabling live automation. |
Use Big Move Algo’s built-ins | AUTO Mode and the Fake Trend Detector apply safe defaults and filter low-quality signals automatically. |
Sources
Recommended
Comments