
Developers: TradingView Webhooks to Brokers, Payloads & Big Move Algo

To send TradingView alerts to a broker, point your alert at an HTTPS webhook URL and use a receiver, either a broker-native endpoint, a managed relay, or a self-hosted relay, that turns the incoming JSON into an actual order. Confirm your TradingView plan supports webhooks, then test everything in paper mode before a single dollar touches the market.
TL;DR:
Ensure your TradingView plan supports webhooks and two-factor authentication is enabled, with a funded sandbox account for testing before deploying live.
Use JSON format for webhook payloads, including a unique order ID to prevent duplicate trades resulting from retries or network issues.
Choice of receiver depends on your setup: broker-native endpoints for simplicity, managed relays for reliability without maintenance, or self-hosted relays for control and privacy.
Secure your webhook with HTTPS and a shared secret or HMAC signature, setting limits on order size and symbol access to prevent unauthorized or accidental trades.
Test the entire alert-to-trade chain thoroughly in simulation and paper trading environments, monitoring latency and handling errors before switching to live trading.
Table of Contents
How Do You Prepare TradingView and Your Broker for Alerts?
Most failed setups fail before the first webhook ever fires. The problem is almost never the code. It’s a missing permission, a plan tier that doesn’t support webhooks, or a broker account that was never switched into sandbox mode for testing.
Start with TradingView itself. Not every plan exposes the webhook URL field on the alert creation screen, so check your subscription tier before you build anything else around it. TradingView also requires two-factor authentication to be enabled on your account before it will let you save an alert with a webhook attached. This is a deliberate friction point. Alerts that can move real money deserve a second lock on the door.
On the broker side, the setup depends entirely on what your broker supports. Some brokers authenticate through OAuth 2.0, where you grant access through a login flow and TradingView never touches your actual password. Others rely on API key and secret pairs generated inside your broker’s dashboard. Either way, TradingView does not store your broker credentials on its own servers when using its native broker connections. Credentials stay local to your session. That matters if you’re weighing privacy against convenience.
If you’re going the self-hosted route, you’ll also need a small piece of infrastructure most traders haven’t built before: an HTTPS endpoint that’s actually reachable from the internet. A free tunnel service works for testing, but production setups usually run on a small VPS or a serverless cloud function. It doesn’t need to be powerful. It needs to be always on and fast to respond.
Before any of these touches live capital, open a paper trading account or sandbox environment with your broker. Almost every broker that supports API access also offers some form of simulated trading. Use it.
Here’s the prerequisite checklist worth running through before you write a single line of alert configuration:
TradingView plan confirmed to include the webhook URL field
Two-factor authentication enabled and active on your TradingView account
Broker access method identified: OAuth 2.0 flow or API key/secret pair
HTTPS endpoint ready and reachable, whether broker-native, managed, or self-hosted
Paper or sandbox broker account opened and funded with simulated capital
Skip any one of these and you’ll likely spend an afternoon debugging something that was never a code problem in the first place.
How Do You Create a TradingView Alert With a Webhook URL?
Creating the alert itself takes about five minutes once your prerequisites are sorted. The steps rarely change, but the details inside each step are where people trip up.
Open the Alerts panel. Click the clock icon or right-click your chart and select “Add Alert.”
Set your trigger condition. This could be a price crossing a level, an indicator condition, or a signal from a custom script like Big Move Algo.
Choose bar close or intrabar triggering. This decision matters more than most traders realize, covered below.
Scroll to the Notifications tab and check the Webhook URL box. Paste your HTTPS endpoint into the field.
Write your alert message using placeholders. TradingView supports dynamic variables like {{ticker}}, {{strategy.order.action}}, and {{close}} that get replaced with live values when the alert fires.
Save the alert. If two-factor authentication is required, you’ll be prompted to confirm.
The bar close versus intrabar decision deserves its own moment of thought. Intrabar triggering fires the instant your condition is technically met, even mid-candle, which sounds appealing until you realize how often price whipsaws back the other way before the candle actually closes. Bar close triggering waits for the candle to finish, which cuts down on false signals caused by those brief intrabar swings. For most automated execution setups, bar close is the safer default. Reserve intrabar triggering for strategies where speed genuinely outweighs the noise, like scalping setups with tight stops.
Pro Tip: Test your webhook URL with a tool like Webhook before wiring it into a real alert. Fire a manual test payload first, confirm it arrives with the fields you expect, then connect it to TradingView. It takes two minutes and saves you from debugging a live alert that never had a chance to work.
Before you save that alert and walk away, run through a quick validation pass. Confirm your webhook URL is actually reachable from outside your network, not just from your local machine. Confirm your shared secret or authentication token is included somewhere in the payload if your receiver requires one. And double-check your symbol format matches what your broker or relay expects. A ticker written as AAPL on TradingView might need to arrive as NASDAQ:AAPL or a broker-specific instrument code, depending on your receiver.
For a deeper walkthrough of indicator-based trigger logic, our guide on setting up TradingView indicator alerts covers configuration options this section only touches on.
What Should a TradingView Webhook Payload Look Like?
Your alert message is what actually carries instructions to your receiver, and getting its structure right is the difference between a clean fill and a rejected order. TradingView sends the contents of your alert message as an HTTP POST body. If that message is valid JSON, the request arrives as application/json; if it isn’t, TradingView falls back to plain text.
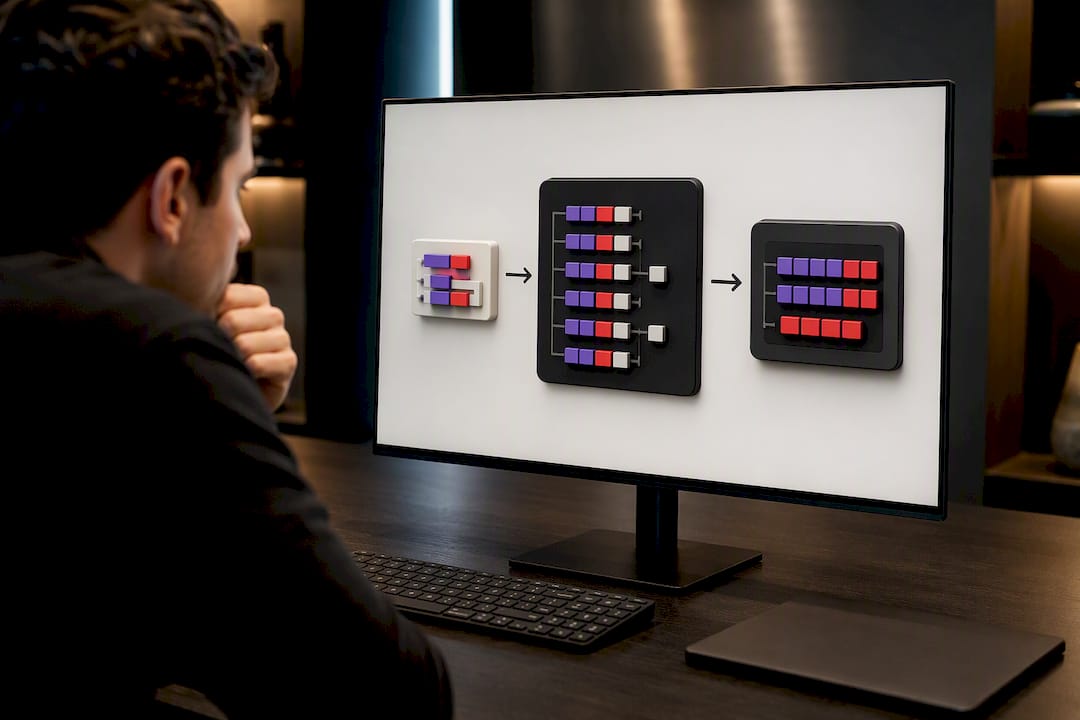
Always structure your alert message as JSON. Plain text forces your receiver to parse loosely formatted strings, which is fragile and error-prone the moment you add more fields. JSON gives you named keys, predictable types, and a format every modern receiver, broker API, or relay service expects by default.
A minimal working payload looks like this:
{
  "ticker": "{{ticker}}",
  "action": "buy",
  "quantity": 1,
  "order_type": "market",
  "secret": "your_shared_secret_here"
}
That structure lines up closely with what Trade Relay’s own examples use for self-hosted setups, keeping the shape simple: symbol, action, size, and a secret for authentication.
Field | Purpose | Example value |
ticker | Symbol being traded | {{ticker}} |
action | Order direction | buy, sell, close |
quantity | Position size | 1 |
order_type | Execution type | market, limit |
secret | Shared authentication token | your_shared_secret_here |
client_order_id | Unique ID for idempotency | {{timenow}}-{{ticker}} |
That last field, client_order_id, solves a problem that catches almost everyone off guard the first time it happens: duplicate fills. If your webhook fires twice, whether from a network retry, a flaky connection, or a TradingView quirk, and your receiver has no way to recognize the second request as a repeat, you end up with two positions instead of one. Including a unique order ID, often built from a timestamp placeholder combined with the ticker, lets your receiver reject duplicates before they touch your broker.
If your strategy uses bracket orders, you can extend the payload with stop loss and take profit fields directly:
stop_loss: price level or percentage offset for your protective stop
take_profit: target price or offset for your exit
order_id: a persistent identifier tying entry and exit alerts together for the same trade
Not every broker or relay supports bracket fields natively, so check your receiver’s documentation before assuming they’ll be honored. For more on structuring exit logic specifically, see our breakdown of take-profit alert automation, and for placeholder syntax details, this alert message syntax guide covers variables beyond the basics shown here.
Which Receiver Type Fits Your Trading Setup?
The receiver is the piece of infrastructure sitting between TradingView and your broker, and picking the wrong one is the single most common reason automation projects stall out. Three types dominate the space, each with a genuinely different tradeoff profile.
Broker-native endpoints are the simplest option when they exist. A handful of brokers accept TradingView webhooks directly, meaning your alert message goes straight from TradingView to the broker’s own infrastructure with no middleman. The upside is obvious: nothing extra to build, host, or maintain. The downside is coverage. Most brokers don’t offer this, so your choice of broker is effectively locked to whichever ones do.
Managed relay services fill the gap for everyone else. Platforms like SignalBridge connect to a range of brokers, including names like Alpaca, Tradier, and Coinbase, and handle the translation from webhook to order automatically. You pay a recurring fee, but in exchange you’re offloading three genuinely annoying problems: keeping up with broker API changes, building retry and idempotency logic, and translating TradingView’s alert format into whatever shape each broker’s API demands. For traders without a development background, that trade is usually worth it. Managed relays earn their keep specifically when you need reliability across multiple brokers, since maintaining that reliability yourself across several broker APIs is a part-time job on its own.
Self-hosted relays sit at the other end of the spectrum. Tools like Trade Relay, an open-source project, let you run your own server that parses incoming webhooks, applies your own safety rails, and forwards orders to your broker while your API keys never leave your own infrastructure. The appeal is control and privacy. The cost is your time: you’re responsible for uptime, security patches, and adapting your code whenever a broker changes its API. Open-source relays demonstrate that keys can stay local while orders still execute automatically, which is the whole pitch for traders who don’t want a third party ever touching their credentials.
Run through this checklist before committing to one path:
How many brokers or accounts do you need to route orders to? One broker with native support makes the decision easy. Three or four different brokers pushes you toward a managed relay.
Do you need multi-account routing, like copying one signal across several client or personal accounts? That’s a feature to check for explicitly, since not every receiver supports it out of the box.
How much latency can your strategy tolerate? A few hundred milliseconds rarely matters for swing trades but can matter enormously for scalping.
Does your team have development capacity to maintain a self-hosted server long term, or would that time be better spent trading?
There’s no universally correct answer here. A trader running one strategy on one broker with no coding background is usually better served by a broker-native connection or a managed relay. A developer running multiple strategies across several brokers, who wants full visibility into every request and response, often prefers the self-hosted route despite the extra work. For a broader look at moving from signal to live execution, our guide on setting up live algo trading walks through the operational side of that decision.
How Do You Secure a Webhook So Only You Can Trigger Trades?
An unsecured webhook is an open door. Anyone who discovers your endpoint URL, whether through a leaked screenshot, a misconfigured log, or simple guessing, can send it a payload and potentially trigger a real order on your account. Locking that door down isn’t optional if live capital is involved.
Start with the basics that should never be skipped. Your endpoint must run over HTTPS, never plain HTTP, so traffic between TradingView and your receiver can’t be intercepted or read in transit. Beyond that, require a shared secret embedded in the payload, or better, verify incoming requests with an HMAC signature that proves the request genuinely originated from your TradingView account and wasn’t tampered with along the way.
Where your broker supports it, prefer OAuth 2.0 authentication or a scoped API key over broad account access. A scoped key that can only place orders, and can’t withdraw funds or change account settings, limits the blast radius if that key is ever compromised. Never paste live API keys into public forums, shared documents, or a GitHub repository, even a private one you think is safe.
Build safety rails directly into your receiver, not just around it:
Set a maximum order size so a malformed or malicious payload can’t accidentally place a position ten times larger than intended.
Maintain an allowed-symbol list so your receiver rejects any ticker it wasn’t explicitly configured to trade.
Add a dry-run toggle that lets you flip your entire system into a mode where it logs what it would have done without placing a real order, useful for testing changes safely in production.
Log every incoming request, accepted or rejected, so you have a trail to review if something goes wrong.
Implement replay protection so a captured and resent payload from an hour ago can’t trigger a duplicate trade.
Pro Tip: Set your receiver’s maximum order size deliberately lower than what you think you’ll ever need. It costs you nothing on a normal trading day, and it caps your downside the one day a bug in your own code tries to send an order for 500 shares instead of 5.
Our piece on webhook acknowledgement patterns goes deeper into the technical side of verifying and queueing requests safely, which pairs directly with the security controls above.
How Do You Test the Full Alert-to-Broker Chain Safely?
Every reliable automated setup goes through the same three stages before real money is on the line: simulate, paper trade, then go live. Skipping any one of them is how traders end up explaining an unexpected position to themselves at 2 AM.
Simulate locally first. Send test payloads directly to your receiver using a tool like Postman or a simple script, before TradingView is even involved. Confirm your receiver parses the JSON correctly and responds the way you expect.
Move to a sandbox or paper account. Connect your receiver to your broker’s paper trading environment and let real TradingView alerts flow through the full chain. Watch specifically for duplicate suppression working correctly, fill acknowledgements arriving as expected, and quantities mapping to the exact size you intended.
Measure latency end to end. Time how long it takes from the moment your TradingView condition triggers to the moment your broker confirms a fill. TradingView expects a fast response from your webhook and does not retry failed deliveries, which means your receiver needs to acknowledge quickly even if the actual broker order takes a few extra seconds to process behind the scenes.
Set up monitoring before going live. Build alerting for failed webhook deliveries and a simple dashboard comparing expected actions against actual fills, so a silent failure doesn’t go unnoticed for days.
Only after your paper trading results match your expectations consistently, across different market conditions and a reasonable sample of trades, should live capital enter the picture. Rushing this stage is the single most common regret traders report after an automation setup goes wrong.
Why Do TradingView Alerts Sometimes Fail to Reach Your Broker?
Most webhook failures fall into one of four categories, and each has a fast, specific fix once you know what you’re looking at.
Timeouts happen when your receiver takes too long to respond to TradingView’s request. The fix is architectural: your receiver should return a 200 OK response immediately upon receiving the payload, then handle the actual broker order asynchronously in the background. Never make TradingView wait while your code talks to a broker API that might take several seconds to respond.
Malformed JSON is one of the most common and most avoidable errors. A missing comma, an unescaped character inside a placeholder, or a stray bracket can break the entire payload. Validate your alert message template against a JSON linter before saving it, and start from a working example provided by your receiver rather than building the structure from scratch.
Authentication failures usually trace back to one of a few culprits: an incorrect or missing shared secret, an OAuth 2.0 consent that expired or was never granted the right permissions, or API scopes that don’t cover order placement. If you’re using HMAC signatures, check for clock drift between your server and TradingView’s timestamps, since a signature calculated against a mismatched time window will fail verification even when the secret itself is correct.
Order-level rejections come from the broker, not from the webhook chain itself. Common causes include:
Insufficient buying power or margin for the requested order size
A symbol format mismatch, like sending AAPL when the broker expects NASDAQ:AAPL
Market hours restrictions on an order type that requires an open exchange
A quantity that doesn’t meet the broker’s minimum lot size
Map these broker error codes to plain-language messages inside your receiver’s logs, and build a retry policy for transient errors, like a brief network blip, while treating persistent errors, like insufficient funds, as something that needs manual attention rather than an automatic retry loop.
How Do You Map Big Move Algo Signals Into a Webhook Payload?
Big Move Algo generates clear Long, Short, and Exit signals directly on your TradingView chart, and translating those into a webhook payload follows the same JSON structure covered earlier, just with the action field populated by the indicator’s output instead of a manual condition.
A payload built around a Big Move Algo Long signal might look like this:
{
  "ticker": "{{ticker}}",
  "action": "buy",
  "signal_source": "big_move_algo",
  "signal_type": "long",
  "quantity": 1,
  "secret": "your_shared_secret_here"
}
For an Exit signal, you’d change action to close or sell, and signal_type to exit, keeping the rest of the structure identical so your receiver’s parsing logic doesn’t need separate code paths for each signal type.
A few practical notes worth building into your setup:
Pair Big Move Algo’s Fake Trend Detector output with bar-close confirmation rather than intrabar triggering, since combining a filter signal with a confirmation check reduces whipsaws around entries and exits.
Test your Long and Short signal payloads separately before combining both into one live alert, so you can confirm each direction maps correctly to buy and sell orders on your broker.
Run a dedicated sweep test on Exit signals specifically, since a missed or duplicated exit alert is often more costly than a missed entry.
Use AUTO Mode during your initial paper trading phase to reduce the number of variables you’re debugging at once, then move to Manual Mode once the webhook chain is confirmed reliable.
Our guide on customizing TradingView chart signals covers additional Pine Script placeholder patterns that extend naturally to Big Move Algo’s signal structure.
Operational Trade-Offs and When to Automate
Automation buys you consistency. It doesn’t buy you the right to walk away and stop paying attention. That distinction gets lost in most conversations about webhook trading, where the pitch is always speed and hands-free execution, and rarely the maintenance burden that comes with it.
The traders who run automated setups successfully over the long term treat monitoring as part of the system, not an afterthought. That means scheduled audits of fill logs, not just a dashboard glanced at occasionally. It means a kill switch that can halt every open alert instantly, because markets occasionally do things no backtest anticipated, and the ability to stop everything in seconds is worth more than any feature you added last month. It also means a rollback plan: if a receiver starts misbehaving, you need a way to revert to manual trading without scrambling.
The other trade-off worth naming directly: more automation is not better automation. A trader running two well-tested strategies with tight safety rails will consistently outperform someone running eight unmonitored bots across five brokers, simply because complexity multiplies the number of places something can quietly break. Fewer moving parts, watched closely, beats a sprawling setup nobody has time to audit.
— Steven Hartwell
Ready to Automate Your Signals? Start With Big Move Algo
Big Move Algo gives you something most webhook setups are missing at the source: signals that are already structured, timestamped, and ready to drop into a JSON payload without guessing at entry or exit logic yourself. Instead of building a strategy from scratch and hoping it holds up, you’re feeding a receiver clear Long, Short, and Exit calls that already filter out weak setups through the built-in Fake Trend Detector.
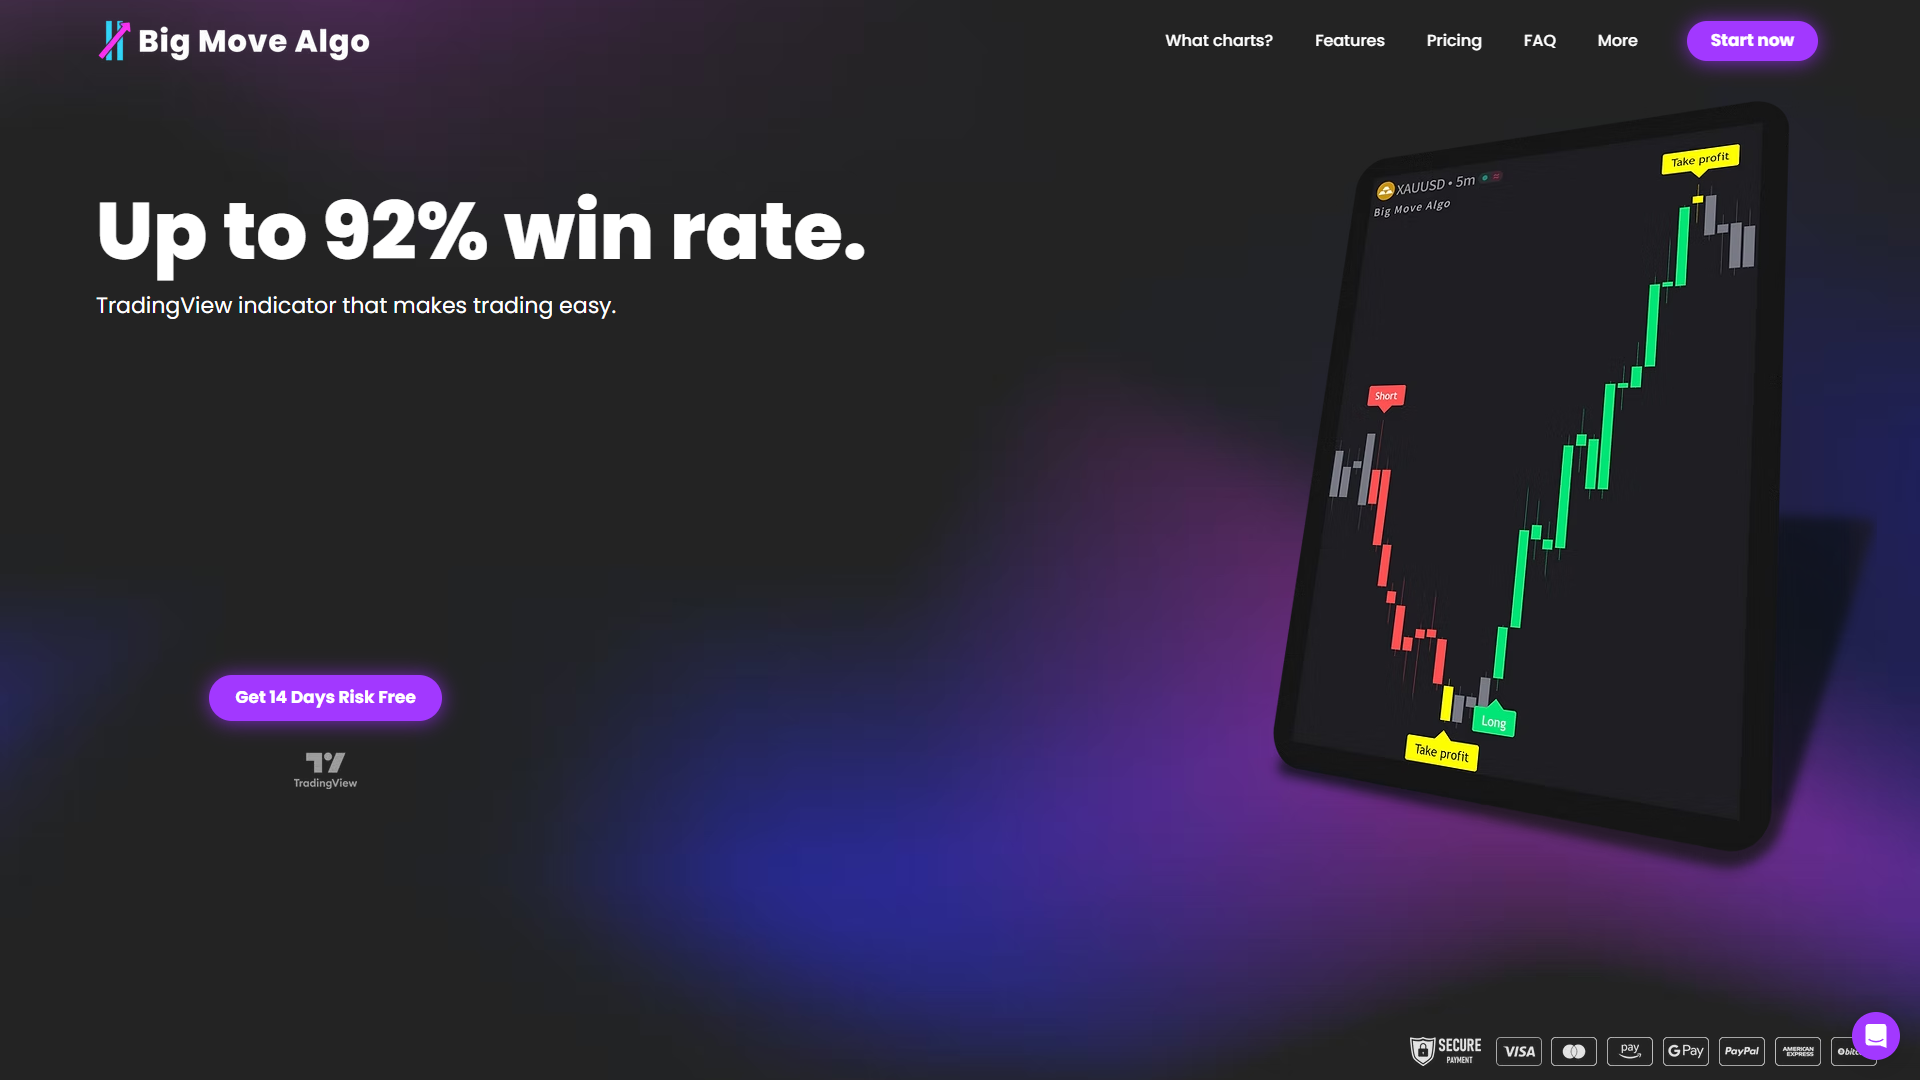
Getting started doesn’t require choosing a receiver on day one. Our setup guides walk through Pine Script placeholder patterns and payload structures that work whether you end up on a broker-native connection, a managed relay, or something self-hosted. Start in paper mode, confirm your fills match your signals consistently, and only then consider connecting live keys.
Explore Big Move Algo’s subscription options and get access to the indicator along with the documentation you’ll need to wire it into your webhook workflow safely.
Where to Go Deeper on Webhook Implementation
A few resources are worth bookmarking once you move past the basics covered here. For the underlying mechanics of webhook delivery and JSON formatting, the Ontology playbook on automating TradingView alerts covers prerequisites and decision criteria in more depth.
Trade Relay on GitHub for a working self-hosted relay implementation with example payloads
SignalBridge for managed-relay coverage across brokers like Alpaca, Tradier, and Coinbase
SignalStack’s TradingView alerts documentation for integration and security specifics
Your broker’s own API documentation and sandbox environment, since every broker’s rate limits, order types, and symbol formats differ
Sources
FAQ
Can I Set an Alert for a Stock Price on TradingView?
Yes. TradingView lets you set price-based alerts on any stock, and you can attach a webhook URL to that same alert so it automatically notifies your broker receiver the moment the price condition triggers.
What’s the Best Options Trading Alert Service?
There’s no single best service since it depends on your broker and how much setup effort you want to take on. A managed relay like SignalBridge suits traders without development resources, while a self-hosted relay like Trade Relay suits developers who want full control over execution logic.
Can I Set Up Free Alerts on TradingView?
TradingView offers a limited number of free alerts on its basic plan, but webhook-enabled alerts for broker automation typically require a paid subscription tier that exposes the webhook URL field.
How Do I Create Alerts on TradingView?
Open the Alerts panel from your chart, set your trigger condition, choose bar close or intrabar timing, then enable the webhook option under Notifications and paste your endpoint URL before saving.
Does Big Move Algo Work With Automated Broker Execution?
Yes. Big Move Algo’s Long, Short, and Exit signals can be mapped directly into a webhook JSON payload, letting you route its signals to a broker-native endpoint, managed relay, or self-hosted relay for automated execution.
Recommended
Comments